- 1 1. Introduction: Why Use Node.js on Ubuntu?
- 2 2. Overview of Node.js Installation Methods on Ubuntu
- 3 3. Method ①: Installing Node.js Easily with APT (Ubuntu Official)
- 4 4. Method ②: Installing the Latest Version with NodeSource PPA
- 5 5. Method ③: Flexible Version Management with nvm (Recommended)
- 6 6. Using npm and yarn
- 7 7. Common Errors and Troubleshooting
- 8 8. Frequently Asked Questions (FAQ)
- 9 9. Conclusion: Choose the Right Installation Method for Your Needs
1. Introduction: Why Use Node.js on Ubuntu?
Excellent Compatibility Between Ubuntu and Node.js
Node.js is a platform for running JavaScript on the server side and is widely used for web applications and tool development. Ubuntu, on the other hand, is a Linux distribution trusted by many developers and server administrators. By combining these two, you can build a development environment that excels in stability, flexibility, and speed.
Installing Node.js on Ubuntu provides the following advantages:
- A lightweight OS with minimal overhead, enabling efficient use of system resources
- A unified Linux-based environment from development to testing and production
- High compatibility with Node.js and smooth integration with tools such as npm and nvm
For these reasons, the combination of Ubuntu and Node.js is highly attractive as a development environment for both frontend and backend work.
Target Audience and Purpose of This Article
This article is written for the following readers:
- Those who want to use Node.js on Ubuntu for the first time
- Those who want to know which installation method is best
- Those who want to use the latest Node.js version but are unsure about configuration
By reading this article, you will be able to compare three different Node.js installation methods on Ubuntu and choose the most suitable approach based on your goals and skill level. In addition, this guide covers related tools such as npm and yarn, as well as solutions to common errors, helping you confidently use a Node.js environment.
2. Overview of Node.js Installation Methods on Ubuntu
Three Installation Methods, Each with Its Own Characteristics
There are three primary ways to install Node.js on Ubuntu:
- Installing the standard package via APT (Advanced Package Tool)
- Installing via NodeSource PPA (Personal Package Archive)
- Using nvm (Node Version Manager) for flexible version management
Each method has its own advantages and disadvantages, and the best choice depends on your use case and system configuration. The following table summarizes their characteristics.
Comparison Table of Node.js Installation Methods
| Installation Method | Main Features | Advantages | Disadvantages | Recommended For |
|---|---|---|---|---|
| APT (Default) | Uses Ubuntu’s official repository | Simple and safe | Version may be outdated | Beginners who want to try quickly |
| NodeSource PPA | Manages newer Node.js versions via APT | Relatively up-to-date versions | Requires adding a PPA | Developers who want a stable recent version |
| nvm | Supports switching between multiple versions | Highly flexible and ideal for development | Requires shell configuration | Recommended for learning and development |
Why Is Comparison Important?
Ubuntu prioritizes stability, which means software versions in the APT repository tend to be conservative. As a result, users who want the latest Node.js features or need to test multiple versions should consider options other than APT.
On the other hand, if your goal is simply to try Node.js quickly or avoid extra configuration on a production server, the APT method may be sufficient.
Which Should You Choose?
In conclusion, for developers or anyone planning to use Node.js long-term, installing via nvm is the most recommended approach.
The reasons include:
- Easy switching between the latest and older versions
- npm is installed automatically
- Fewer permission issues (no sudo required)
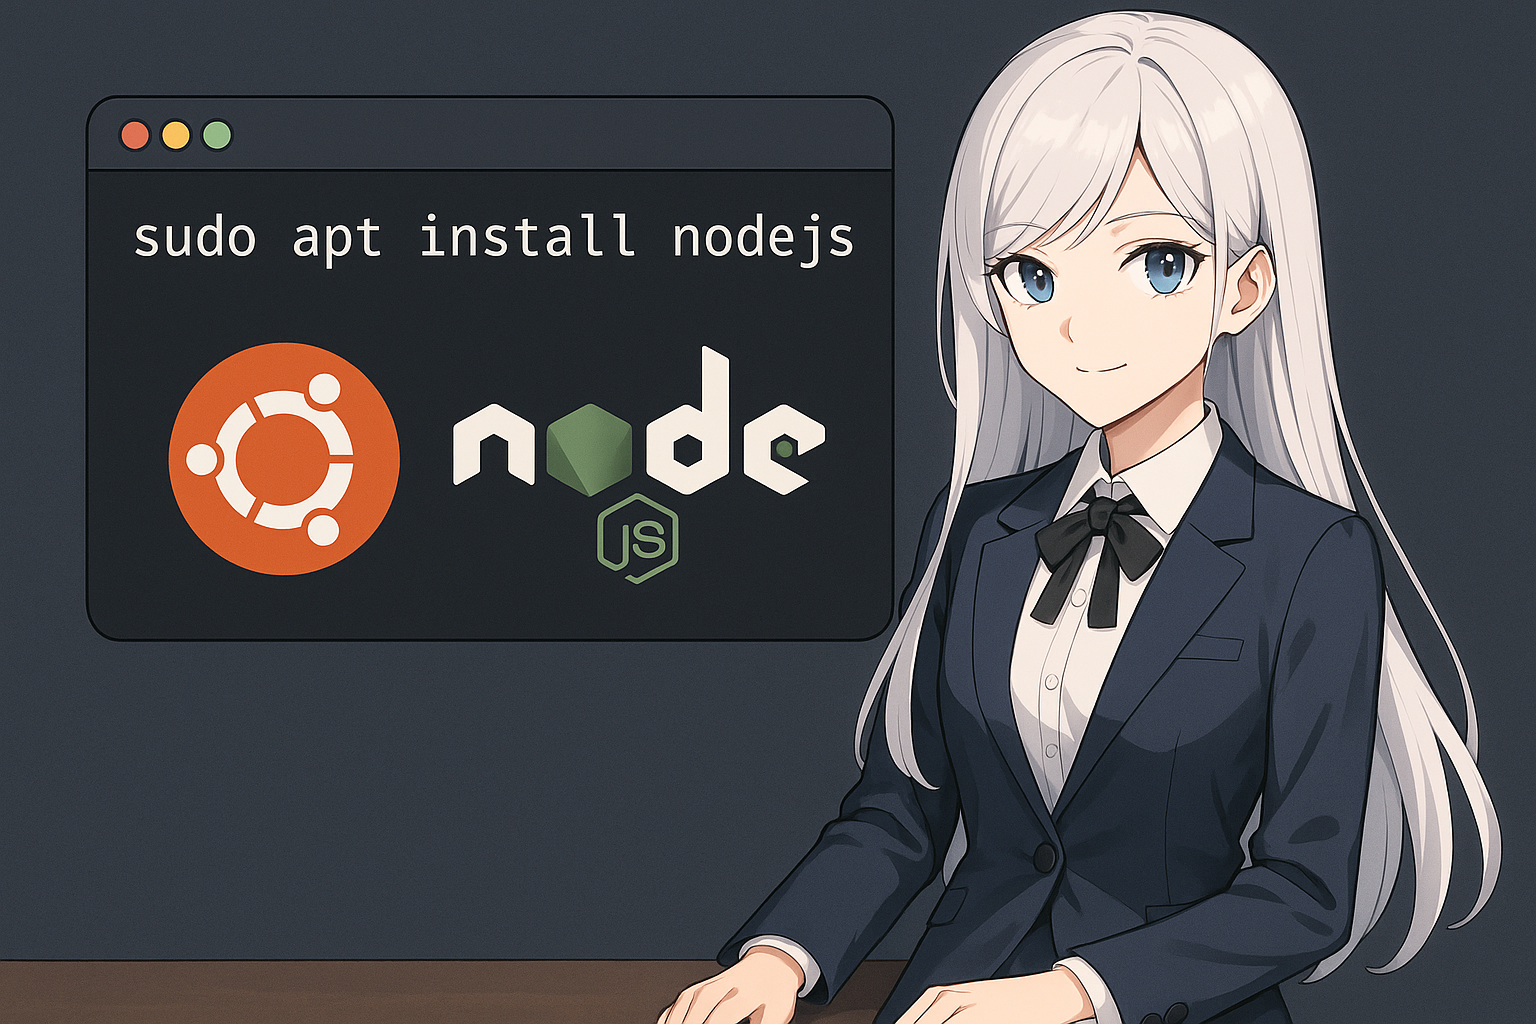
3. Method ①: Installing Node.js Easily with APT (Ubuntu Official)
What Is APT? The Standard Package Management System on Ubuntu
APT (Advanced Package Tool) is the standard package management system used by Ubuntu and other Debian-based Linux distributions. With APT, you can easily install, update, and remove software using a single command.
The Ubuntu official repository includes Node.js packages, which means you can install Node.js immediately without any special preparation.
Installation Steps
- Update the APT package list.
sudo apt update- Install Node.js and npm.
sudo apt install nodejs npm- Verify the installation.
node -v
npm -v
If version information is displayed, the installation was successful.
Advantages: Simple and Safe
- Highly reliable since it uses the official Ubuntu repository
- Simple commands that are easy for beginners
- Integrated with system updates via APT
Disadvantages: Version May Be Outdated
Because APT prioritizes stability, the available Node.js version may be several generations behind.
For example, on Ubuntu 22.04, the Node.js version installed via APT may be version 12 or 14, which means the latest features and security improvements may not be included.
This method is also not suitable if you need to use multiple Node.js versions across different projects.
Who This Method Is Best For
- Beginners who want to try Node.js immediately
- Production environments where a stable version is sufficient
- Users who do not need multiple Node.js versions
4. Method ②: Installing the Latest Version with NodeSource PPA
What Is NodeSource?
NodeSource is a trusted provider that delivers stable and latest Node.js versions quickly, independent of the official Node.js team. It is especially useful for Ubuntu and Debian users who want to install newer Node.js versions while continuing to use APT.
This method is recommended on the official Node.js website and is widely used in enterprise environments.
Installation Steps (Example: Node.js 18.x)
- Update the package list.
sudo apt update- Install curl if it is not already installed.
sudo apt install curl- Run the NodeSource setup script.
curl -fsSL https://deb.nodesource.com/setup_18.x | sudo -E bash -- Install Node.js.
sudo apt install -y nodejs- Verify the installation.
node -v
npm -v
Advantages: Use the Latest Version with APT
- Easy installation of the latest stable Node.js version
- Familiar APT-based management
- npm is installed automatically
Disadvantages: Requires Adding a PPA
- Slightly more steps compared to standard APT installation
- Requires evaluating the trustworthiness of the source (NodeSource is generally safe)
Who This Method Is Best For
- Developers who want a stable and up-to-date Node.js version
- Users who find the Ubuntu repository insufficient but do not want to use nvm
- Those who want to keep centralized APT-based package management
5. Method ③: Flexible Version Management with nvm (Recommended)
What Is nvm? A Powerful Tool for Managing Node.js Versions
nvm (Node Version Manager) is a command-line tool that allows you to manage and switch between multiple Node.js versions. It is especially useful for developers who need different versions per project or want to test both the latest and LTS releases.
With nvm, you can build a flexible development environment entirely within your user account, without installing Node.js system-wide.
Installing nvm
- Run the installation script using curl.
curl -o- https://raw.githubusercontent.com/nvm-sh/nvm/v0.39.1/install.sh | bash- Reload your shell configuration file.
source ~/.bashrcOr, if you are using Zsh:
source ~/.zshrc- Verify that nvm is installed.
command -v nvmIf nvm is displayed, the installation is successful.
Installing Node.js with nvm
- Install the LTS version:
nvm install --lts- Install a specific version:
nvm install 18- Switch the active version:
nvm use 18- Set the default version:
nvm alias default 18- Check versions:
node -v
npm -v
Advantages: Maximum Flexibility and Control
- Multiple versions can coexist and be switched instantly
- npm is installed automatically
- No sudo required, reducing permission issues
- Does not modify the system environment, ideal for development
Disadvantages: Initial Setup Requires Attention
- nvm will not work if shell configuration files are not properly loaded
- Installed per user, not system-wide
Who This Method Is Best For
- Developers who need to switch between Node.js versions
- Users managing multiple projects with different requirements
- Beginners who want to avoid permission-related issues
6. Using npm and yarn
What Is npm?
npm (Node Package Manager) is an essential tool for managing Node.js packages. It allows you to easily install and manage libraries and tools published by developers worldwide.
When Node.js is installed via APT, NodeSource, or nvm, npm is usually installed automatically.
Check the version:
npm -vBasic npm Commands
| Action | Command Example |
|---|---|
| Install a package | npm install <package-name> |
| Install globally | npm install -g <package-name> |
| Uninstall a package | npm uninstall <package-name> |
| Initialize a project | npm init or npm init -y |
| List packages | npm list or npm list -g |
What Is yarn?
yarn is an alternative to npm developed by Facebook, designed for faster and more reliable package management. Its commands are largely compatible with npm.
Installing yarn (via npm)
npm install -g yarnVerify the installation:
yarn -vBasic yarn Commands
| Action | Command Example |
|---|---|
| Install a package | yarn add <package-name> |
| Global install | yarn global add <package-name> |
| Uninstall a package | yarn remove <package-name> |
| Initialize a project | yarn init |
| List packages | yarn list or yarn global list |
npm vs yarn: Which Should You Use?
| Comparison | npm | yarn |
|---|---|---|
| Standard | Included with Node.js | Requires installation |
| Speed | Standard | Faster with caching |
| Lock file | package-lock.json | yarn.lock |
| Compatibility | – | Mostly compatible |
Modern npm (v7 and later) has improved significantly, so either option is generally fine. It is best to follow what your project or team already uses.
7. Common Errors and Troubleshooting
Common Issues and Solutions
■ node: command not found
Cause:
Node.js is not installed correctly, or the PATH is not set. This often occurs after installing nvm without reloading the shell configuration.
Solution:
- Reload the shell configuration file:
source ~/.bashrc- If the issue persists, log out and log back in or reboot
■ E: Unable to locate package nodejs
Cause:
The APT package list is outdated or the correct PPA has not been added.
Solution:
- Update the APT list:
sudo apt update- If using NodeSource, re-run the setup script
■ npm ERR! permission denied
Cause:
Insufficient permissions when installing global npm packages.
Solution:
- Use sudo (not always recommended):
sudo npm install -g <package-name>- Using nvm is the best practice to avoid permission issues
■ nvm: command not found
Cause:
nvm is installed, but the shell configuration has not been loaded.
Solution:
- Ensure nvm is sourced in your shell configuration file
- Manually load it:
export NVM_DIR="$HOME/.nvm"
[ -s "$NVM_DIR/nvm.sh" ] && \. "$NVM_DIR/nvm.sh"
Best Practices to Avoid Issues
- Always verify PATH settings
- Using nvm helps avoid most environment-related issues
- Pay attention to compatibility between Ubuntu and Node.js versions
8. Frequently Asked Questions (FAQ)
Q1. How can I check my Node.js version?
A. Run the following command in the terminal:
node -vTo check npm as well:
npm -vQ2. How can I use multiple Node.js versions on Ubuntu?
A. Using nvm is the easiest and safest approach. After installation, you can switch versions like this:
nvm install 16
nvm use 16
Q3. Node.js installed via nvm is not active. Why?
A. In most cases, the shell configuration file has not been loaded. Run:
source ~/.bashrcOr, for Zsh:
source ~/.zshrcQ4. What is the difference between npm and yarn?
A. Their core functionality is similar, but yarn offers faster installs using caching and explicit dependency locking via yarn.lock. Modern npm has improved significantly, so either option works well.
Q5. How do Node.js, Deno, and Bun differ?
A. Deno and Bun are alternative runtimes designed to address Node.js limitations.
- Deno: Native TypeScript support, enhanced security, built-in standard library
- Bun: Faster execution and built-in package management
However, Node.js remains the most practical choice due to its vast npm ecosystem.
9. Conclusion: Choose the Right Installation Method for Your Needs
There are multiple ways to install Node.js on Ubuntu, each with clear strengths and use cases. This article introduced three representative methods and explained how to choose the most suitable one.
APT (Ubuntu Official)
- Pros: Easiest and safest
- Cons: Version may be outdated
- Recommended for: Beginners who want a quick start
NodeSource PPA
- Pros: Install newer versions while using APT
- Cons: Requires adding a PPA
- Recommended for: Developers who want a stable recent version
nvm (Node Version Manager)
- Pros: Flexible version switching and clean environment
- Cons: Slightly more complex setup
- Recommended for: Developers handling multiple projects
This guide also covered npm, yarn, and common troubleshooting tips. While Node.js installation may seem complex at first, choosing the right method makes it easy to build a stable development environment on Ubuntu.
If you plan to expand your projects further, using nvm as your foundation will help you scale into team development and CI/CD workflows.