
- 1 1. Main Ways to Create ZIP Archives on Ubuntu
- 2 2. Basic Usage of the zip Command on Ubuntu
- 3 3. Commonly Used ZIP Compression Options in Practical Work
- 4 4. GUI or CUI: Which Should You Use?
- 5 5. Common ZIP Compression Issues and How to Handle Them
- 6 6. Practical Advice for Mastering ZIP Compression on Ubuntu
- 7 7. Frequently Asked Questions (FAQ)
- 7.1 7.1 Is ZIP Compression Available by Default on Ubuntu?
- 7.2 7.2 Should I Use ZIP or tar.gz?
- 7.3 7.3 Is There Any Difference Between ZIP Files Created via GUI and Terminal?
- 7.4 7.4 Can ZIP Files Created on Ubuntu Be Extracted on Windows?
- 7.5 7.5 Are There Any Precautions When Compressing a Large Number of Files?
- 7.6 For Beginners
- 7.7 For Professional and Business Use
- 7.8 Finally
1. Main Ways to Create ZIP Archives on Ubuntu
Ubuntu provides several methods for compressing files and folders into ZIP format.
To ensure that users migrating from Windows or macOS do not get confused, both GUI-based operations and terminal-based operations are available.
It is important to first understand the overall picture and then choose the method that best suits your use case.
1.1 Creating ZIP Archives Using the GUI (File Manager)
In the Ubuntu desktop environment, you can easily create ZIP archives using the file manager (Files / Nautilus).
The basic workflow is as follows:
- Select the files or folders you want to compress
- Right-click
- Select “Compress…”
- Choose “.zip” as the compression format
- Set a name and create the archive
The main advantage of this method is that no commands need to be memorized.
It is the safest and most comfortable option for beginners or for one-time tasks.
However, there are some limitations:
- Compression options cannot be finely controlled
- Repeating the same task multiple times is inefficient
- Cannot be used in server environments without a GUI
This method is best suited for everyday file organization and small-scale compression tasks.
1.2 Creating ZIP Archives Using the Terminal (zip Command)
On Ubuntu, you can also create ZIP archives using the zip command in the terminal.
This method is extremely important for server administration, development work, and professional use.
Key characteristics include:
- Easy batch compression of entire directories
- Fine control over compression levels and target files
- Can be integrated into scripts and automated processes
- Works even in environments without a GUI
On the other hand:
- Some familiarity with command-line input is required
- It may feel intimidating at first
However, the basic usage is very simple, and once learned, it significantly improves efficiency.
This article explains the zip command step by step in a way that beginners can easily understand.
1.3 Which Should You Choose: GUI or Terminal?
Let’s briefly summarize which method is more appropriate.
- Everyday file organization or one-time tasks → GUI is recommended
- Server work, regular backups, large file processing → Terminal (zip command) is essential
One of Ubuntu’s strengths is the ability to naturally switch between both methods.
There is no need to force yourself to use the terminal from the beginning, but if you plan to use Ubuntu long-term, learning the zip command is unavoidable.
2. Basic Usage of the zip Command on Ubuntu
To create ZIP archives from the terminal, you use the zip command.
This section carefully explains everything from preliminary checks to basic operations.
2.1 Checking Whether the zip Command Is Installed
In many Ubuntu environments, the zip command is available by default. However, in minimal installations or server environments, it may not be installed.
First, open the terminal and run the following command:
zip -vIf version information is displayed, the zip command is available.
If you see a message such as:
“command not found”
then zip is not installed.
In that case, you can install it with the following commands:
sudo apt update
sudo apt install zip
After installation, run zip -v again to confirm.
2.2 Basic Syntax for Compressing a File
The basic syntax of the zip command is very simple.
zip output.zip input_fileFor example, to compress a file named sample.txt, use:
zip sample.zip sample.txtWhen this command is executed:
sample.txtis included- A ZIP archive named
sample.zipis created
Key points to remember:
- The original file is not deleted
- The ZIP file name can be freely specified
2.3 Compressing Multiple Files at Once
To compress multiple files at the same time, specify them separated by spaces.
zip files.zip file1.txt file2.txt file3.txtThis creates a single ZIP archive containing multiple files.
This method is commonly used when bundling multiple documents or temporarily organizing files.
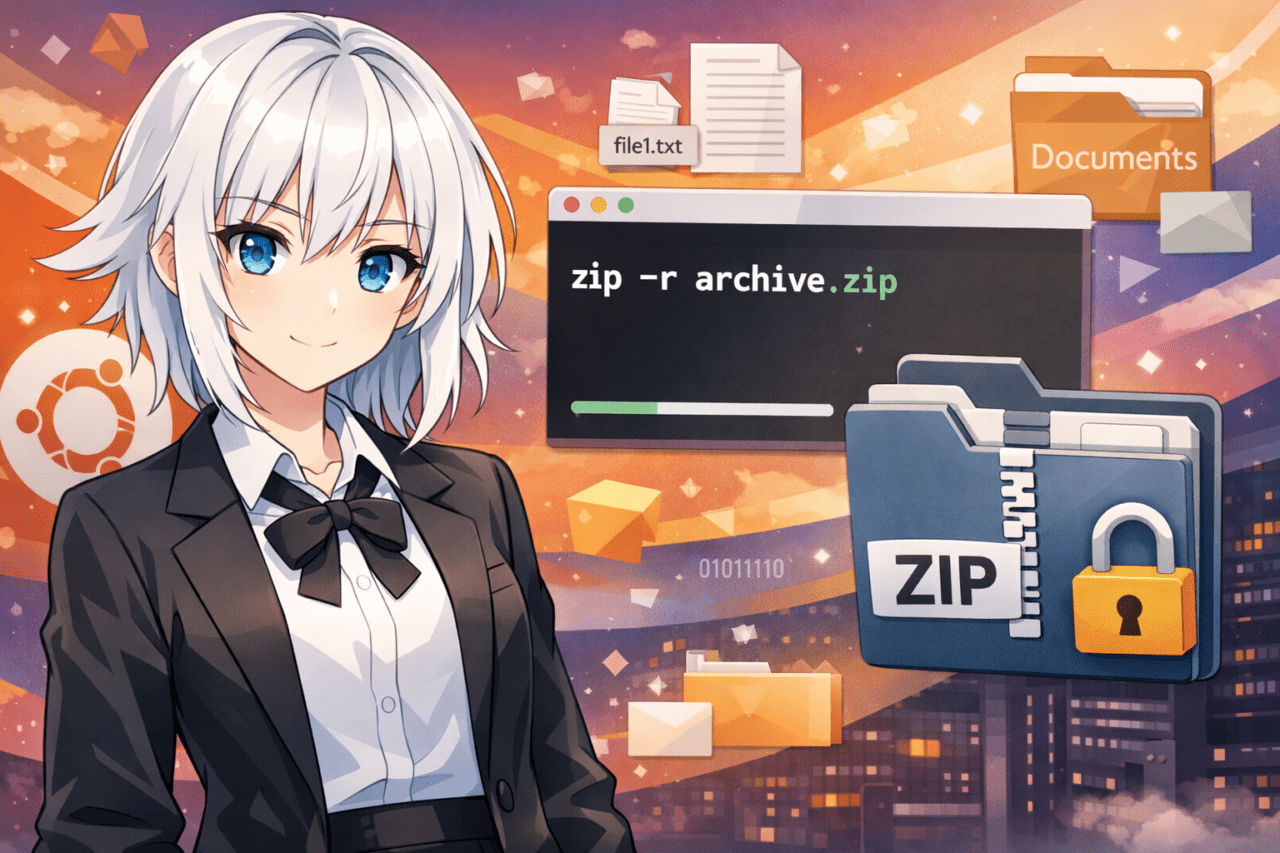
2.4 Compressing Directories Using the -r Option
When compressing directories, the -r option is required.
The “-r” stands for “recursive,” meaning it processes subdirectories as well.
The basic format is:
zip -r archive.zip directory_nameFor example, to compress a directory named documents:
zip -r documents.zip documentsThis method preserves:
- All files inside the directory
- The entire subdirectory structure
Directory compression is commonly used for backups, deliveries, and server migrations.
2.5 Checking the Contents of a ZIP File
Created ZIP files can be checked using either the GUI or the terminal.
To view the contents from the terminal without extracting the archive, use:
unzip -l archive.zipThis command allows you to:
- Leave the archive compressed
- Display only the list of contained files
This is useful when you want to verify the contents before sending or storing the file.
3. Commonly Used ZIP Compression Options in Practical Work
Once you become familiar with basic ZIP compression,
it is useful to learn options that allow you to compress only what you need, efficiently and safely.
This section introduces representative options frequently used in real-world environments.
3.1 Specifying the Compression Level
The zip command allows you to specify the compression level using a number from 0 to 9.
-0: No compression (fastest processing)-9: Maximum compression (slower processing)- No option specified: Standard compression (balanced)
The syntax is as follows:
zip -9 archive.zip largefile.dat
Even with higher compression levels, the file size may not change significantly for:
- Images (JPEG, PNG)
- Videos (MP4)
- Already compressed files
Therefore, in practical use:
- Prioritize speed → lower compression
- Prioritize transfer size → higher compression
This is the common way to choose compression levels in real work.
3.2 Excluding Specific Files or Directories from ZIP Compression
In backup and web development environments, there are many situations where you want to exclude unnecessary files.
In such cases, use the -x option.
For example, to exclude the .git directory:
zip -r project.zip project -x "project/.git/*"
You can also specify multiple exclusion patterns:
zip -r project.zip project \
  -x "project/.git/*" \
  -x "project/cache/*"
This helps to:
- Reduce backup size
- Prevent unnecessary files from being included
3.3 Creating Password-Protected ZIP Files
ZIP files can also be created with a password.
The basic syntax is:
zip -e secret.zip secret.txt
When the command is executed,
you will be prompted to enter a password.
However, keep the following points in mind:
- The ZIP encryption method is not very strong
- It is not suitable for highly confidential data
For sensitive data, ZIP should be considered a form of “light protection,” and stronger encryption methods should be evaluated.
3.4 Adding Files to an Existing ZIP Archive
In some cases, you may want to add files to an already created ZIP archive.
This can be done using the standard zip command:
zip archive.zip addfile.txt
If a file with the same name already exists:
- It will be overwritten
- A confirmation message may be displayed
This is useful for incremental updates or minor modifications.
4. GUI or CUI: Which Should You Use?
On Ubuntu, ZIP compression can be performed using either a GUI or a CUI (terminal).
However, the most suitable method varies greatly depending on your purpose.
This section clearly explains which to choose based on different use cases.
4.1 Cases Where the GUI Is More Suitable
GUI-based operations are visually intuitive and reduce the likelihood of mistakes.
The GUI is well suited for the following situations:
- You are new to Linux and not familiar with commands
- One-time compression tasks
- Handling a small number of files or folders
- Mainly working on a local PC
Because everything can be completed with a simple right-click, this is the easiest option when you need to “zip something quickly.”
However, efficiency decreases when repeating the same task or when fine-grained control is required.
4.2 Cases Where the CUI (Terminal) Is More Suitable
ZIP compression via the terminal may feel intimidating at first.
However, it is overwhelmingly advantageous in the following situations:
- Working on servers (no GUI environment)
- Regular or scheduled backups
- Handling large numbers of files or directories
- Needing fine control over exclusions or compression levels
- Integrating into scripts or automated processes
Once you learn the commands:
- Tasks become reproducible
- Errors are reduced
- Processing is faster
In professional and development environments, being able to use the zip command directly affects productivity.

4.3 How Beginners Should Choose
For beginners, the following approach is recommended:
- Start by getting comfortable with GUI operations
- Understand ZIP format and compression concepts
- Gradually try terminal-based operations
There is no need to force yourself to use the CUI from the beginning.
Ubuntu is designed so that skills can be developed step by step.
By continuing to read this article and gradually interacting with the terminal, you will naturally become more comfortable with Ubuntu operations.
5. Common ZIP Compression Issues and How to Handle Them
ZIP compression itself is a simple task, but depending on the environment and situation, unexpected issues may arise.
This section focuses on common pitfalls, especially those beginners often encounter.
5.1 Garbled Japanese File Names After Extraction
When ZIP files created on Ubuntu are extracted on other environments such as Windows, file names containing Japanese characters may appear garbled.
This is caused by:
- Differences in how operating systems handle character encoding
- Limitations of the ZIP format specification
When creating ZIP archives on Ubuntu:
- Use a modern environment whenever possible
- Assume potential encoding issues and verify in advance
If files are shared across different operating systems for work purposes, it is recommended to perform a test extraction beforehand.
5.2 When the zip Command Is Not Found
If you run the zip command in the terminal and see:
command not found
it means that zip is not installed.
You can resolve this by running the following commands:
sudo apt update
sudo apt install zip
After installation, run the command again and confirm that it works correctly.
5.3 When the Compressed File Size Does Not Decrease Much
You may notice that the file size hardly changes after ZIP compression.
This is not an error.
ZIP achieves high compression ratios for:
- Text files
- Source code
However, it is much less effective for already compressed data such as:
- Images
- Videos
- Audio files
If the size does not decrease significantly, it is simply due to the nature of the files, not a failure.
5.4 Compression Takes a Long Time for Large Numbers of Files
When compressing a large number of files or using high compression levels, processing may take a long time.
In such cases, you can improve performance by:
- Lowering the compression level
- Excluding unnecessary files
In real-world work, it is often important to stop at “sufficient compression” rather than aiming for maximum compression.
6. Practical Advice for Mastering ZIP Compression on Ubuntu
ZIP compression is just one type of file operation, but when used correctly, it can greatly improve efficiency and safety.
This section introduces practical concepts useful for both work and everyday use.
6.1 How to Think About ZIP Compression for Backups
For backup purposes, simply compressing everything is not always the best approach.
What matters most is:
- A structure that is easy to restore
- File names that clearly indicate their contents
- Including only what is truly necessary
For example:
- Include dates in ZIP file names
- Exclude unnecessary cache and temporary files
These practices make backups easier to manage later.
6.2 Compressing Files for Retrieval from Servers
In server environments, ZIP compression is often used to:
- Download large numbers of files at once
- Reduce transfer time
Web site data and log files, in particular, are easier to handle when compressed into a single ZIP archive before transfer.
In these cases:
- Compression levels do not need to be extremely high
- Processing speed is often prioritized
This is a common judgment in real-world environments.
6.3 Automate Repetitive Tasks Using Commands
The zip command truly shows its value when integrated into scripts and scheduled tasks.
For example:
- Backing up a specific directory every day
- Regularly compressing and archiving log files
These tasks are far more reliable when automated rather than performed manually.
It is fine to start with manual operations, but once tasks become repetitive, considering automation greatly expands how effectively you can use Ubuntu.
6.4 Understanding That ZIP Is Not a Universal Solution
ZIP is very convenient, but it is not optimal for every situation.
- When very high compression ratios are required
- When strong encryption is necessary
Other solutions should be considered.
ZIP is best used by leveraging its strengths:
- Ease of use
- High compatibility
- Availability across all operating systems
7. Frequently Asked Questions (FAQ)
When starting to use ZIP compression on Ubuntu, basic operations may be clear, but smaller questions often arise.
This section summarizes common questions and answers.
7.1 Is ZIP Compression Available by Default on Ubuntu?
In most Ubuntu environments, ZIP compression is available out of the box.
GUI-based compression using the file manager usually works without any additional setup.
However, the zip command used in the terminal may not be installed depending on the environment.
Even in that case, it can be added easily with a simple command.
7.2 Should I Use ZIP or tar.gz?
The choice depends on your use case.
- Exchanging files with other operating systems (Windows, macOS)
- Simple compression and extraction
In these cases, ZIP is suitable.
On the other hand:
- Using files only within Linux environments
- Backup and archive purposes
tar.gz is often used.
For beginners, ZIP is a safe choice due to its high compatibility and ease of use.
7.3 Is There Any Difference Between ZIP Files Created via GUI and Terminal?
There is no significant difference in basic structure or compatibility.
ZIP files created by either method work without issues.
Differences mainly appear in:
- The level of control over compression options
- Exclusion patterns and compression level tuning
For simple compression, GUI is sufficient. For fine-grained control, the terminal is recommended.
7.4 Can ZIP Files Created on Ubuntu Be Extracted on Windows?
Yes, in most cases they can be extracted without any problems.
However:
- File names containing non-ASCII characters
- Special characters
may cause garbled text depending on the environment.
For work-related file exchanges, it is recommended to perform a test extraction on Windows beforehand.
7.5 Are There Any Precautions When Compressing a Large Number of Files?
When compressing large numbers of files, keep the following points in mind:
- Compression can take a long time
- CPU and disk load may increase
- Unnecessary files may be included
In professional environments, it is especially important to:
- Exclude unnecessary files
- Avoid excessively high compression levels
For Beginners
If you are not yet comfortable with Ubuntu, it is recommended to start by using GUI-based ZIP compression.
Once you understand the concept of compression and the ZIP format, gradually exploring terminal operations will help you master Ubuntu more deeply.
For Professional and Business Use
For regular backups and server work, effective use of the zip command directly impacts productivity.
- Compress only what is necessary
- Adjust compression levels based on purpose
- Automate repetitive tasks
With these perspectives, ZIP compression becomes more than just a file operation—it becomes part of an efficient workflow.
Finally
ZIP is a highly practical compression format characterized by:
- Ease of use
- High compatibility
- Support across all operating systems
By correctly understanding ZIP compression on Ubuntu and choosing the appropriate method for each situation, you can effectively use it for everything from daily tasks to professional work.